January 15, 2012

Hi everyone!  Today I have a bit of a different sort of post for you.  I didn't have chance to create a project for you this weekend since 2 of my 3 kiddos were sick and hubby as well (they are all better now), but anyway I wanted to take a day to post some pictures of Stampin' Up's! clear block system.

As many of you know I only use wood mounted stamps (I swore I would only use wood mount stamps), but with my last Stampin' Up! order I decided to give clear mount stamps a try and so I purchased the clear mount block bundle (item # 118491 $69.95).  The bundle includes all of the clear block sizes.  *Note* you'll save $9.25 if you order the bundle rather than ordering them all separately.  I also ordered the clear block storage caddy item # 120279 $16.95 and I'm going to show you some photos of that as well.

This is a photo of the clear block bundle.  In this photo I've already removed the blocks from the packaging, but here I wanted to show you that they will arrive packaged separately.  These are blocks A-I.

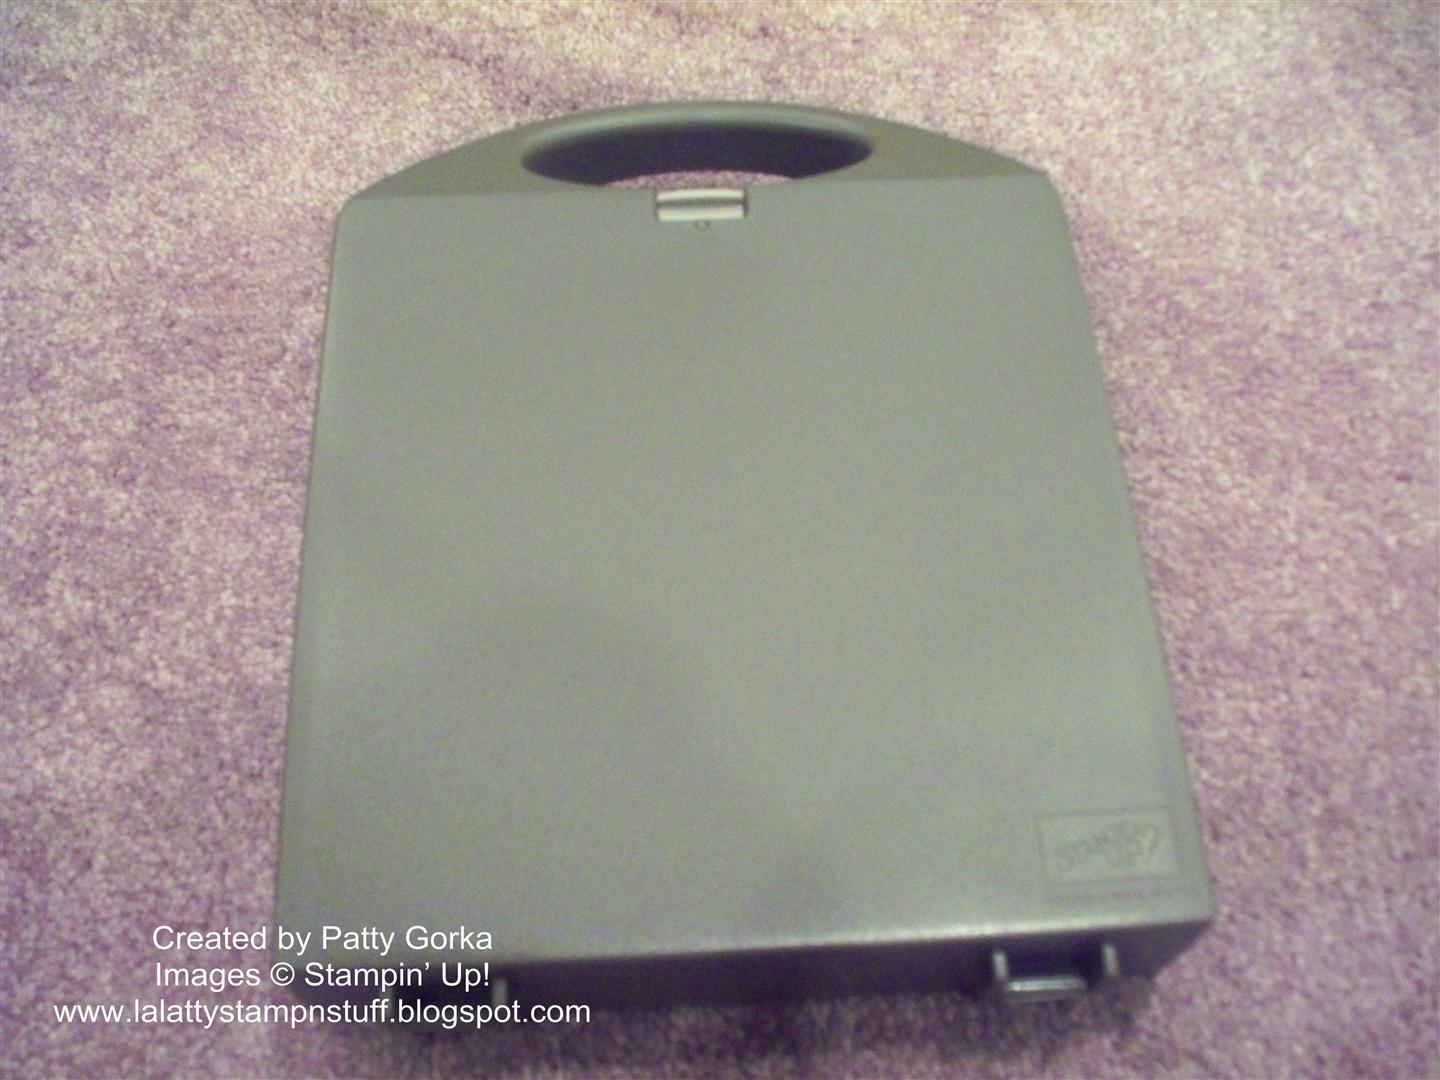
This is a photo of the clear block storage caddy (closed).  The case opens flat for easy access and when you're finished it closes and locks to hold your blocks in place.
This is a photo of the clear block storage caddy opened.  You will notice that Stampin' Up! gives you an additional foam insert to sit between the blocks and protect them when the caddy is closed.

If you look closely at my photo you will see foam inserts that you will need to remove before you can place your blocks inside.  The foam blocks simply pop out.  I've already popped one out in this photo below to show you what I am talking about.

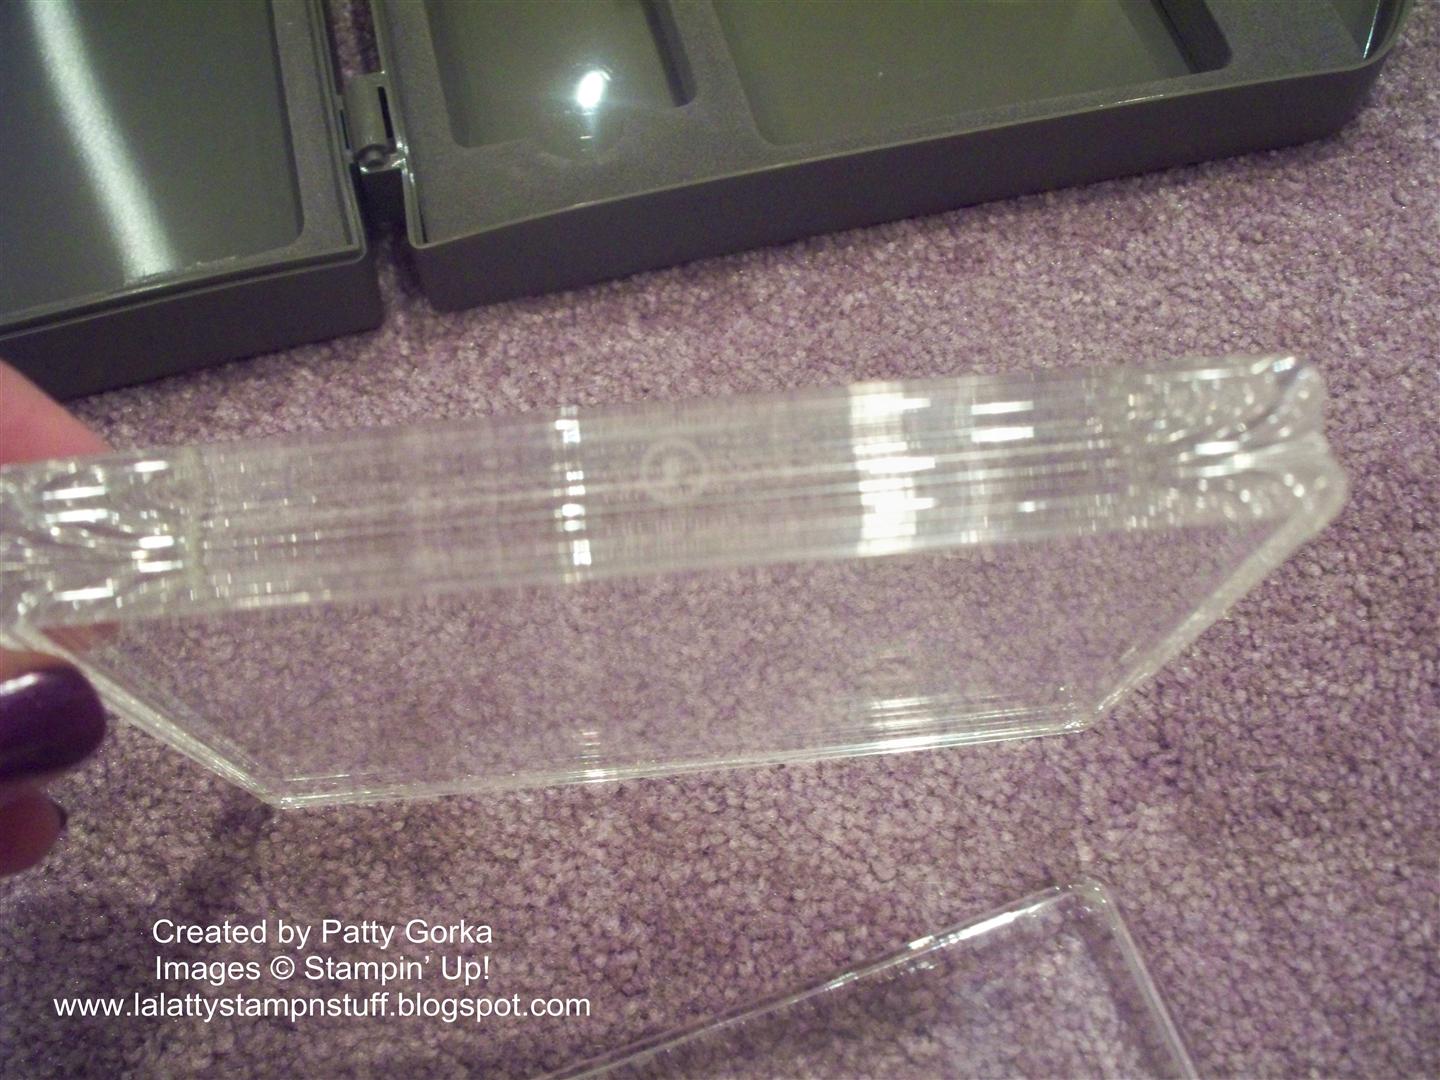
Before I move onto the next photo I wanted to take a minute to show you a close up of one of the Stampin' Up! clear mount blocks.  I was very surprised when I received my blocks because they are awesome.  I've had blocks from other companies and by far these are the best!  There are nicely curved grooves on all four sides and they are really, very sturdy!  Hmmm...I'm beginning to like the clear mount option already!
  

And below is a photo of the clear block caddy with all the foam inserts popped out and all my clear blocks in place.  You'll notice the additional foam insert at the top left side of my photo.

Here I've placed the foam insert inside the case and now it's ready to close up and put away.  You'll want to make sure to use this foam insert to protect your blocks when the case is closed.

Here's another photo of the clear block caddy closed and locked.  To lock the caddy all you need to do is to simply flip over the little clip.  As you can see there is a handle for easy carrying. 

There are 2 reasons I've decided to give the clear mount system a try.  One is that storage is starting to become an issue and as many of you know the clear mount stamps take up a lot less room, but the main reason I've decided to give the clear mount stamps a try is to save money!  If you were to purchase these stamp sets (in my photo below) with the wood mount option they would cost $116.80 and with the clear mount option they only cost $92.80 - that's a savings of $24 with just 4 stamp sets, can  you believe it?!!

These are the stamps that I recently purchased (they are all from the current occasions mini catalog- there is a link to the catty on the right hand side of my blog if you wanted to check it out).  And since I'm new to using clear mount stamps I've decided to go head and show you how to mount them. 

This is a photo of 1 stamp set, but it's a large set so it came in two separate cases.  This is the new Apothecary Art stamp set clear mount item #125527 $27.95 found in the new occasions mini catalog.  It's hard to see in this photo, but I wanted to point out that the rubber is die cut for you so that you do not need to cut/trim around the image.

Simply pop the image out of the rubber sheet and peel off the backing.  Now, some people are using these stamps just like this and some are placing the stickers over the foam.  Personally, I think I'll like being able to see the image so I'm going to go ahead and place the sticker over the foam.

Next, you will need to remove the sticker from the sticker index sheet.  Slowly peel the sticker from the sheet and then you will need to remove the sticker backing on the image- see my next photo below.

This is a photo of me removing the sticker backing.  You will see that the sticker backing is in two pieces- carefully remove each half.....(see next photo below)

...and then place the sticker on top of the foam/back side of the rubber stamp.  You'll want to first make sure that your sticker label and the stamp image will be applied in the correct direction.  In other words, your image label and stamp image should match.

Here is a photo of the stamp with the label in place. 

Here is a photo of the stamp on a clear mount block. I wanted to take a minute to explain that although I know it can be a bit confusing, but Stampin' Up! refers to their unmounted stamps as 'clear mount' and I just wanted to explain (for those of you who are not aware) that Stampin' Up's! clear mount stamps are not clear. The stamps are the same high quality red rubber as found in their wood mount stamps.

When  you are finished mounting your stamp set you can store your unmounted stamps in the DVD sized case that came with your set.  Or the way I've decided to store my stamps....(see my photo below)

...was too keep the rubber sheet that my stamps arrived in and then place my stamps back inside the die cut out opening.  The rubber sheet will help keep my stamps in place and I won't have to worry about losing any.

Well that's about it for today.  Once I get some stamping time I'll have to let you know how I like my new clear mount stamp sets.  There is a clear mount block template available on the Stampin' Up! website if you would like to download it.  The link for the template is here.  Once you are on that page look all the way towards the bottom and you will find where to download it from.

I hope you had a great weekend!  My kiddos are off from school tomorrow so it's going to be a busy one for me!  Thanks for stopping by!

Contact me today if you would like to place an order or to be added onto my mailing list!
To place your Stampin' Up! order- http://www.stampinup.com/ECWeb/default.aspx
My email address- pebbles4@ptd.net
Pin It

January 9, 2012

Hi everyone!  Today I decided to check out the CAS (or clean & simple) challenge on splitcoast stampers.  The challenge was to find ways to use die cuts and since I just recently received my new framelits (labels collection) from Stampin' Up! I knew I wanted to give them a try.

Everything I used to make my card is current, or will be current I should say, with the exception of the designer series paper that I purchased from the Stampin' Up! clearance rack, so if you are purchasing anything from Stampin' Up! be sure to check out those clearance rack items.

I began by first stamping my image and then cutting it out using my framelits and my big shot.  I cut out a larger pretty in pink layer and then I ran that through my big shot using my finial press embossing folder.  Then I colored my image using my SU markers and layered it using dimensionals.  The stamp I used on my card is from the Outlined Occasions stamp set and it is a new Sale-a-bration set that won't be available until Jan. 24th (so you're getting a sneak peek).
My pink designer series paper layer was punched along the bottom using my label punch.  Simply place your dsp only about 1/4" into the punch and punch away.  Move your punch over along the edge of your paper and punch again while trying to keep them lined up- it's really very easy. 

My red designer series paper was scored every 1/4" using my simply score tool and then I folded the paper back and forth.  I used my paper piercing tool to place mini glue dots where the folds of my dsp meets my card base. 

To adhere my sentiment layer onto my accordion folded dsp I used mini glue dots and placed them where the folds of the paper meet my pretty in pink layer.  Using a paper piercing tool comes in real handy for this because once you touch the glue dots they aren't as sticky.

The top part of my pretty in pink layer was adhered using stacked dimensionals.  I'll see if I can get a photo of this so that you know what I am talking about.  Here's a photo of my stacked dimensionals-  
To complete my card I added a mini clothespin with a small piece of twine tied around it- what a cute way to embellish a card.  Twine seems to be the new 'in' embellishment now.
 
Thanks so much for stopping by!  I'm off to get my house straightened up and start supper.  Have a great day!

Stamps: Outlined Occasions
Card Stock: Real Red, Pretty in Pink, White, Retired- SU Designer Series Paper
Ink: Black Stazon
Supplies: Twine, Mini Clothespin, Curly Label Punch, Simply Score Tool, Labels Collection Framelits, Big Shot, Finial Press Embossing Folder, SU Markers- real red & pretty in pink, Dimensionals, Glue Dots
Technique: Paper Folding, Dry Embossing

Contact me today if you would like to place an order or to be added onto my mailing list!
To place your Stampin' Up! order- http://www.stampinup.com/ECWeb/default.aspx
My email address- pebbles4@ptd.net
Pin It

January 8, 2011

Hi everyone!  I made this card for the monthly challenges in my blog group.  I wasn't able to post it earlier because I haven't been feeling well.  It seems that I always get that one bad sickness every winter.  Anyway, I used a new Stampin' Up! Sale-a-bration stamp set to make my card.  The set is called Fresh Vintage.

The challenge this month was 'newness' to create a card using something new, for a new occasion, and using a technique that is new to us.  I did a little more stamping on this card than I usually do and that is something fairly new to me, my stamp set is new and, I'm using this card towards my new year's resolution to send out more cards to my stamping friends.

I began by stamping my background using early espresso ink and the small flower stamp.  I stamped the rich razzleberry card stock using rich razzleberry ink- I like the tone on tone effect it gives.  Then I stamped my main image three times.  Once using early espresso ink, once using rich razzleberry ink and one more time using pretty in pink ink.  I did this because I wanted to cut out the pink and razzleberry flowers and place them over my main espresso image.

Next, I did a bit of faux stitching using my SU mat pack, paper piercing tool, and a white gel pen.  My flower image panel was placed on my card using dimensionals.  My ribbon is SU pretty in pink ribbon.
Be sure to stop by and check out the other cards from the members in our blog group.  I'll list their blogs below.  Again, my apologies for not posting my card sooner.  Have a great day, thanks for stopping by!


Stamps: Fresh Vintage
Card Stock:  White, Early Espresso, Rich Razzleberry
Ink: Early Espresso, Rich Razzleberry, Pretty in Pink
Supplies: Ribbon, SU Mat Pack, Paper Piercing Tool, White Gel Pen
Technique: Faux Stitching

Contact me today if you would like to place an order or to be added onto my mailing list!
To place your Stampin' Up! order- http://www.stampinup.com/ECWeb/default.aspx
My email address- pebbles4@ptd.net
Pin It

January 4, 2012

Happy New Year to you all!  And what a great way to begin the new year than with Stampin' Up's! new Occasions Mini catalog!  I love the mini catalog this time around! 
Click on the link below to view the mini catalog online-
http://204.228.150.61/catalogs/2012Occasions/20120104_Occasions_en-US.pdf

One more thing to mention, remember the clearance rack blitz ends tomorrow so be sure to take advantage of the items found in the clearance rack. We were told that some of the items may remain and some will not.
Here is the link to the clearance rack:
http://www.stampinup.com/ECWeb/ItemList.aspx?categoryid=493

You can email me with any questions and I'll be happy to help you. 

Contact me today if you would like to place an order or to be added onto my mailing list!
My Stampin' Up! Website- http://www.stampinup.net/esuite/home/lalatty/
To place your Stampin' Up! order- http://www.stampinup.com/ECWeb/default.aspx
My email address- pebbles4@ptd.net
Pin It

December 29, 2011

Hi everyone!  I hope you all had a wonderful holiday!  We had some family come visit us and then I had dinner at my house on Christmas Eve.  I spent the past 2 days trying to get my house back in order and I'm just about ready to put away my Christmas tree for this year.  I had a few things I wanted to share with you.  I'll be back in the new year again posting projects and cards like I usually do.  I recently purchased the new Stampin' Up! designer rosette die and I can't wait to try it out.

--The last day to place your order from the Holiday Mini catalog is Tuesday January 3rd.  The new Occasions Mini catalog begins on Wednesday Jan 4th.  I will post a link to the new mini on Wed Jan 4th in the morning.

Carry over flyer
click on the link below to see the carry over flyer

--The Holiday Mini carry over flyer has been released. These are the items that are being carried over and can still be ordered. If you wanted to order something from the holiday mini and it's not on this flyer you still have a few more days to place your order (until Jan 3rd) before it retires. I've posted the link to the carry over flyer for you above.
--It was announced earlier that the stocking building punch from the holiday mini will not be carried over.  I sent everyone on my mailing list this information, but just in case you missed it this punch is only available while supplies last.  Stocking Builder Punch is item #124095 ($16.95).  The coordinating stamp set will also be retiring. Stitched Stocking Clear stamp set #123784 ($19.95) and Stitched Stocking Wood stamp set #123782 (27.95).


--Stampin' Up! has updated their clearance items again and the Clearance Blitz will continue through January 5th.  If you would like to place an order for any items on the clearance rack click on the link below and then click on the shop now tab at the bottom of my Stampin' Up! website.

I also wanted to mention that Debbie (our winner for the Simply Score Tool give away) has received her Score tool- she so kindly posted a comment under my Dec 16th winner announced post found here.  Thanks so much Debbie, enjoy!  I'll be having another give away again and I hope it will be as much fun!

If you have any questions about placing an order feel free to send me an email!  Have a great day and I'll see you next year!  Happy New Year to you all!

Contact me today if you would like to place an order or to be added onto my mailing list!
To place your Stampin' Up! order- http://www.stampinup.com/ECWeb/default.aspx
My email address- pebbles4@ptd.net
Pin It

December 16, 2011

Good Morning!  Well, today is the day some of you have been waiting for (for my Simply Score Tool give away winner), but first I wanted to let you all know about Stampin' Up's! clearance rack blitz.  From now until January 5th, nearly 200 items are being added to Stampin' Up's! clearance rack. 

Items are available only while supplies last.  There are no refunds or exchanges on clearance rack items.  Only online orders qualify for this promotion; however orders can include non-clearance rack items.  There is no minimum purchase required to participate in this promotion and qualifying clearance orders are eligible for hostess benefits.   If you are interested in placing an order for any clearance items here is the link to my Stampin' Up! website-  http://www.stampinup.net/esuite/home/lalatty/  once you are my Stampin' Up! website, click on the shop now tab at the bottom right side of the page and that will take you to the Stampin' Up! online store in which you can place your order through me.  Please let me know if you have any questions at- pebbles4@ptd.net and I will be happy to help you.

Now, onto our drawing!  For our drawing, I printed out all of the comments for my Simply Score tool give away and if you signed up for my newsletters then I entered your name twice.  If you already were receiving my newsletters and you entered my give away I also entered your name twice. 

Here is a picture of all of our entries.

And here is a picture of my son mixing up the names.  Isn't my son cute?  Okay, I guess we all think our kids are cute.  Aaron just turned 7 this past Saturday.

Pick a winner for us Aaron!

And our winner is-

Congratulations Debbie!  Debbie said- I have a running list of blogs I check daily and you're on it.  Thanks for the great projects!!!  PS...fingers crossed.

I hope Debbie likes her new Simply Score tool as much as I like mine.  I'm going to send you an email as soon as I get back from taking my son to school.  When I hear back from you I'll order your new Simply Score Tool. 

ETA- Update...I heard back from Debbie this morning and Debbie your Simply Score Tool is on it's way.  Enjoy!

I'd like to say a great big thank you to all of you for entering and helping me reach my goal of 200 followers.  I hope you will continue to follow me and be on the lookout for my next give away.

Contact me today if you would like to place an order or to be added onto my mailing list!
To place your Stampin' Up! order- http://www.stampinup.com/ECWeb/default.aspx
My email address- pebbles4@ptd.net
Pin It

December 14, 2011

Hi everyone!  I wanted to take a moment to let you all know that today is the last day to place your Stampin' Up! holiday orders in time for Christmas delivery.  Also, tomorrow is the last day for Stampin' Up's! 'It's Good to be a Hostess' promotion. Email me at pebbles4@ptd.net if you need more information about this promotion.

Well, now that Christmas is only 1 1/2 weeks away I'm sure you are finishing up your last minute decorating, wrapping, shopping, baking, and perhaps even you're like me you still haven't mailed your Christmas cards.  What!  You didn't even make your cards, yet!  Well, don't panic.  That's why I'm here....LOL  I have two clean & simple, super quick and easy holiday cards that I'm sure you can whip up in no time. 

My snow swirled card was a case of this card here that I came across on splitcoast stampers.  I eliminated a layer, did a little bit less stamping, and I changed the colors and since purple is my favorite color I decided to make a purple holiday card.  I did add 3 rhinestone gems in the center of the larger snowflakes, but you could even eliminate those if you wanted.  This is a super easy card, just cut your card stock and begin stamp away.


Stamps: Snow Swirled
Card Stock: White, Elegant Eggplant
Ink: Elegant Eggplant, Silver
Supplies: Rhinestone Gems

This next card was also a case of a card I saw somewhere, but I can't seem to find it again to link it here for you.  If I find it I will come back and update this post. 

Now, this card is a bit more work, but I'm sure you could whip up 10 or so of these in less than 1/2 hour.   Simply stamp your tree image, stamp the sentiment, add your glitter and then sponge your moon.  (Note- the tree and the 'season's greetings' sentiment are both on one stamp, but when I mounted this stamp I cut the sentiment apart from the tree and I mounted it on another wood block.  I did this so that it would be quicker and easier for me to work with this stamp). 

Sponging your moon is an easy technique.  Here is a great video that shows you how to do reverse masking and I did mine the same way as Holly did in this video.


Stamps: Scenic Season
Card Stock: White, Night of Navy
Ink: Night of Navy, Real Red
Supplies: Sponge, Circle Punch, 2 Way Glue Pen, Dazzling Diamonds Glitter
Technique:  Sponging, Reverse Masking

That's about it for today!  Remember to come back on Friday morning.  I will be posting the winner of the Simply Score Too giveaway!  Have a great day!

Contact me today if you would like to place an order or to be added onto my mailing list!
To place your Stampin' Up! order- http://www.stampinup.com/ECWeb/default.aspx
My email address- pebbles4@ptd.net
Pin It

December 11, 2011


I don't have a craft post today, but I've been talking about these cupcakes on splitcoast and I wanted to post a picture of them.  These are ice cream cone cupcakes that I made them for my son to give to his classmates at school.  My son's birthday was yestesrday and he turned 7 years old- he's growing up so fast!

These are really easy to make and I make them almost every year.  The trick to making these is not fill the cones too full.  Mix your cake mix according to the directions (you do not want to use cake mix with pudding) and bake like you normally would.  It's tricky getting the cones to stand up and sometimes they can make a mess however I just bought this awesome pan to bake them in and this pan was perfect for my son to take these to school.  These pans are very hard to find so I thought I would share the website where I purchased it from.  Kupcake Konz has excellent customer service and my pan was shipped right away.

Well, that's about it for today.  I'll be back tomorrow with another Christmas card to share!  Have a great rest of the weekend!

Contact me today if you would like to place an order or to be added onto my mailing list!
To place your Stampin' Up! order- http://www.stampinup.com/ECWeb/default.aspx
My email address- pebbles4@ptd.net
Pin It

December 9, 2011

Hi everyone!  Well we did it!  We officially reached 200 followers and I will be giving away a Stampin' Up!  Simply Scoring tool!  As stated in my orginal giveaway post I will be waiting 1 week from the time I reach 200 followers so I will have one of my children pick a winner's name out of a basket next Friday morning.  So there's still time to enter and remember if you signed up or if you already do recieve my Stampin' Up! newsletters I will be entering your name twice!  If you haven't entered yet you will want to read this post <---click here--

I will post pictures and I will be posting the winner next Friday morning.   So be sure to come back next Friday December 16, 2011 (and after I take my son to school) I will come back and update my blog with our winner.   I will contact the winner and you will have 3 days to reply and then I will get your Simply Score Tool ordered and shipped to you.  Thank you to you all for helping me reach my goal!

Onto to today's card.  Today I wanted to post a holiday card that you could make with only a few supplies.  We all know that card making can be expensive and we all have lots of supplies and tools, but I wanted to show you (especially if you are new to card making) that yes, you can make holiday cards with only a few supplies and that aren't expensive to make.

I used one tree stamp from Stampin' Up's!  Lovely as a Tree stamp set and I randomly stamped in onto my card staying towards the left hand side.  I stamped off on a few of the images so that they would appear lighter.  Then all I did was add my Merry Christmas greeting and add my ribbon, so cute and easy!  I did want to mention that I got the idea to make this card from another stamper and her original card can be seen here.

Thanks so much for stopping by.  Have a great weekend!

Stamps:  Lovely as a Tree, Holidays & Wishes
Card Stock: White, Garden Green,
Ink: Garden Green
Supplies: Ribbon
Technique: Stamping Off

Contact me today if you would like to place an order or to be added onto my mailing list!
To place your Stampin' Up! order- http://www.stampinup.com/ECWeb/default.aspx
My email address- pebbles4@ptd.net
Pin It

December 7, 2011

Good Morning! Today's card is for the monthly challenge for the blog group that I belong to. If you look on my side bar you will find the links to the other ladies' blogs who are in my group. If you have time, take a moment to visit their blogs and you can see their challenge cards too. I must apologize to my blog group friends because I am late in posting my card (I'm so sorry, I totally forgot about our challenge).

Our challenge was 'the power of 3's'.  We were to create a card using 3 layers, 3 images, and 3 embellishments and we were to leave the sentiment off of the front of our cards.  I knew right away that I was going to try and use my new stocking punch. 

Making these stockings using the stocking punch is a great way to use up some of your designer series paper scraps.  On my card I used some paper scraps from the Stampin' Up! holly berry bouquet designer series paper.  I used the new silver glimmer paper for the tops and the toe part of the stocking and the rest of my card was made using real red and very vanilla card stock.

The stockings were easy to put together and I placed them on my card using dimensionals.  My background is dry embossed using my big shot and my perfect polka dots embossing folder.  I used a glue dot to hold on my bells.

My 2 year old daughter just told me that she liked the socks on my card, how cute!  Well, that's about it for today.  If you are watching my Simply Score Tool give away then you know we only need 5 more followers.  This would make a perfect Christmas gift for you!  For more details please click on the simply score tool on my side bar.  Have a great day!

Stamps: none
Card Stock: Very Vanilla, Real Red, Silver Glimmer Paper, Holly Berry Bouquet DSP
Ink: none
Supplies: Big Shot, Perfect Polka Dots Embossing Folder, Glue Dots, Dimensionals, Stocking Builder Punch, Mini Jingle Bells
Technique: Dry Embossing

Contact me today if you would like to place an order or to be added onto my mailing list!
To place your Stampin' Up! order- http://www.stampinup.com/ECWeb/default.aspx
My email address- pebbles4@ptd.net
Pin It

December 6, 2011

Good Morning! Today I'm planning on finishing my holiday decorating, but before I do I wanted to post another card that we made at my cookie party. Today's card is almost an exact case from the Stampin' Up! idea book & catalog. In fact this card is the reason I bought this stamp set. I saw the sample card and I figured it would be an easy, quick holiday card and if you leave the ribbon off it would be perfect for the holiday cards you intended to mail.

My red riding hood card base is stamped using red riding hood ink. It's tone on tone ink and card stock so it's hard to see in my photo, but when I was making my card I felt that the background needed a little something.

I used the Stampin' Up! top note die to cut my vanilla card stock for the inside and outside of my card.  I even stamped the bottom right corner on the inside of my card (as you can see in the photo above).  Stamping the inside of my cards isn't something I usually do, but I like the way it turned out on this card.

Then to complete my card I simply stamped my images using old olive ink in the two corners and stamped my season's greetings sentiment using red riding hood ink.  Next, I added my ribbon and placed my top note layer onto my card base using dimensionals and that was it!

Remember to be sure and enter my Simply Score Tool give away.  We only need 8 more followers and I'll have one of my children pick a name out of a basket.  If you receive my newsletters and you enter to win I will enter your name into my drawing twice.

Have a great rest of the day!  See you tomorrow!

Stamps: Bells & Boughs, Curly Cute
Card Stock: Very Vanilla, Red Riding Hood
Ink: Old Olive, Red Riding Hood
Supplies: Big Shot, Top Note Die, Ribbon, Stamp-a-ma-jig

Contact me today if you would like to place an order or to be added onto my mailing list!
To place your Stampin' Up! order- http://www.stampinup.com/ECWeb/default.aspx
My email address- pebbles4@ptd.net
Pin It

December 5, 2011

Hi everyone!  Thank you so much for being patient with me this past week.  I spent the entire week last week getting ready for a cookie exchange party at my house yesterday.  My party went very well and I thing everyone had a great time plus we had an opportunity to try some great new cookies and exchange recipes.  Thank you to those of you who came to my first cookie exchange!  I'm looking forward to doing it again next year.

After we ate some food and had some cookies I planned for everyone to make a few holiday cards and the card I am posting today is one of the cards we made.  Since it was a larger group I had the snowman hats made ahead of time and I had everything else punched out for everyone.

The snow along the bottom of my card was made using the paper tearing technique and then I added some glitter along the torn portion of the card stock.

The snowman was made using several circle punches.  The eyes and mouth I just drew in using my SU black marker.  The nose is just a small triangle cut from some orange scrap paper.  The arms are 2 portions cut from the snowflake punch.

To create the hat I punched out a black 1" square and then I punched out some black card stock using my word window punch.  I then took the card stock from the word window I punched it again.  I slipped it back into the word window punch to punch it again making it shorter.  The leaf in the snowman hat was from the leafy branch of the bird builder punch and then the holly berry was simply a 1/4" circle punch using real red card stock.

I waited until my card was finished until I made my background.  After my snowman was glued on I stamped my sentiment using white craft in and then using my white gel pen I placed dots on my background for the snowflakes.

Thanks so much for stopping by!  Don't forget to enter to win the Stampin' Up! Simply Score Tool that I am giving away.  Click on this link here here for more details about my giveaway.  Only 8 more followers and we will soon have a winner.  Have a great day.  Tomorrow I'll be posting anther card that we made yesterday at my cookie party.

Stamps: Bells & Boughs
Card Stock: White, Brilliant Blue, Chocolate Chip, Black, Only Orange, Old Olive, Real Red
Ink: Craft White Ink
Supplies: Ribbon, Glue Dots, 2 Way Glue Pen, DD Glitter, White Gel Pen, and Punches:  Word Window, 1 1/4" Square, Bird Builder, 1/4" Circle, 1 3/4", 1 1/4", & 1" Circle, and Snowflake
Technique:  Punch Art, Paper Tearing
 
Contact me today if you would like to place an order or to be added onto my mailing list!
To place your Stampin' Up! order- http://www.stampinup.com/ECWeb/default.aspx
My email address- pebbles4@ptd.net
Pin It