Hi everyone! Today I'm sharing a gift card holder that I just made. I made several of these and they were quick and real easy to make. I'll list the directions below for you:
---You can get 2 of these holders out of 1 sheet of 8 1/2" x 11" card stock. Cut your card stock so that it measures 4 1/4" x 7 1/2"
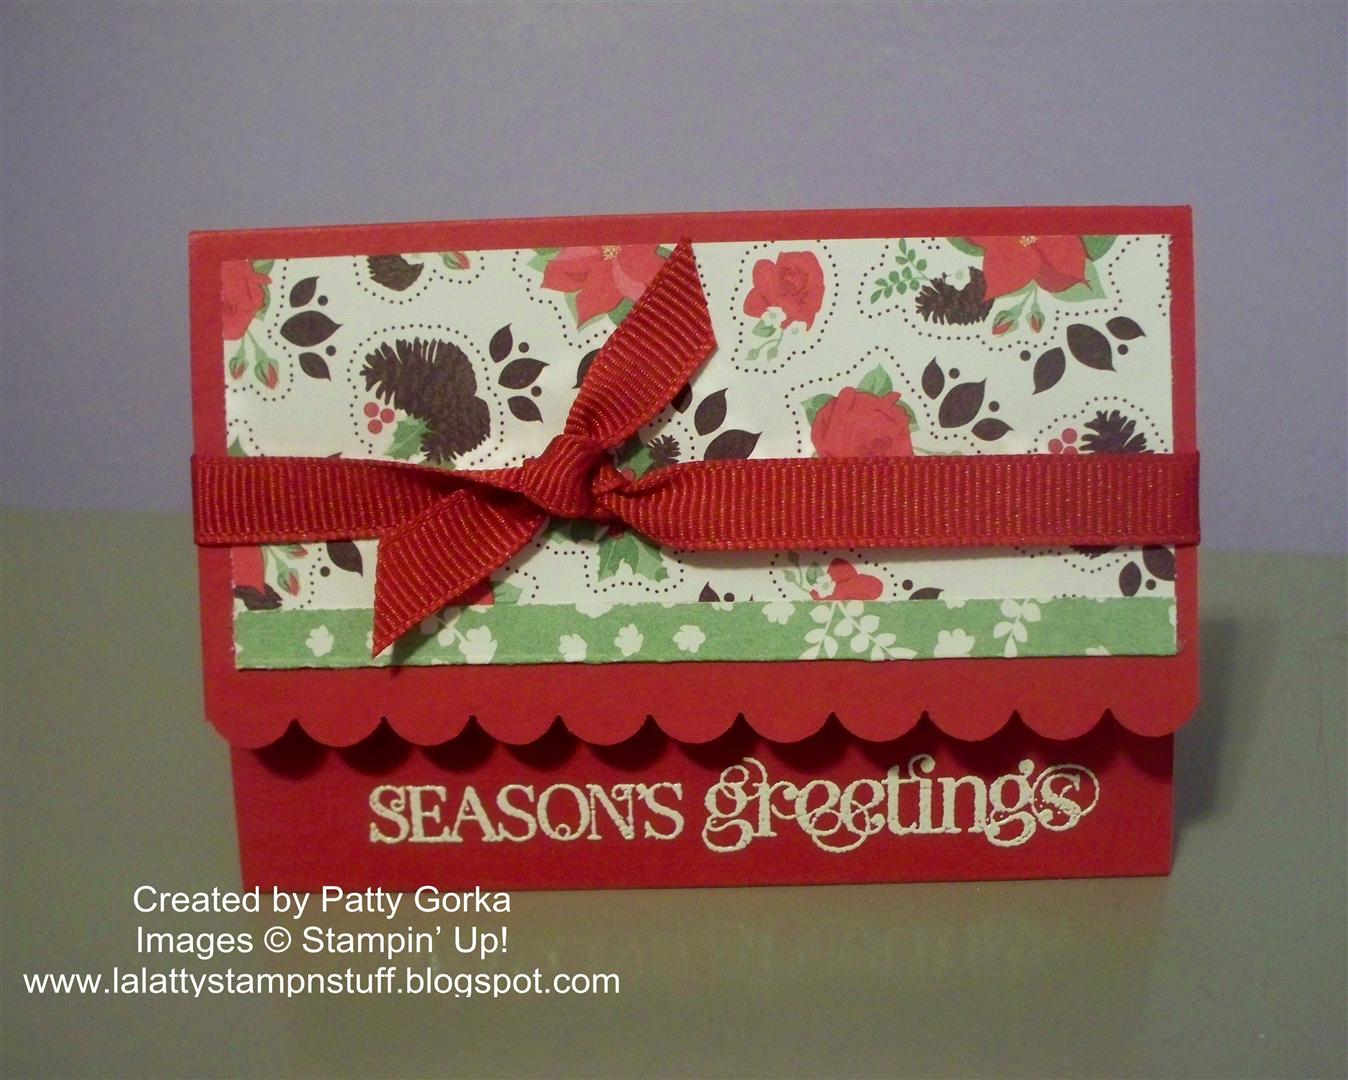
-- Then score your card stock along the short side (or across not long ways) at 2 1/2" and 5 1/2". Fold both flaps inward to create your holder. You will have enough card stock along the top to use your border punch and punch a nice decorative border like I did on mine.
--Next, you will want to tape the bottom flap (the part where the gift card will be inserted) closed. I highly recommend using sticky strip tape to close the bottom flap part of your gift card holder. You only need to use a little bit on each side. Do not tape the top of the flap closed- that's where your gift card is going to go.
--Now you are ready to decorate your holder. On the gift card holder I made I simply used a small piece of designer series paper on the front and in the inside. This would be a great opportunity to go through your scraps bin. My dsp measures 1 3/4" x 4" on the inside and on the outside I cut my dsp at 2" x 4" because I scored the bottom of my dsp and flipped the edge over, but you don't have to do that.
--The next thing I did was to stamp my sentiment. I embossed the sentiment using white craft ink and white embossing powder. You will want to make sure and do your embossing before you add your ribbon and Velcro because the heat from the heat gun can ruin them.
-- Next, I added my ribbon and my Velcro closure. The easiest way to add the Velcro is to place one half on the inside of your card- let's say the fuzzy half. Then take the stiffer half of the Velcro and place that onto the fuzzy part then remove the backing and close your card. Your Velcro will line up perfectly. Be sure when you are buying your Velcro that you are buying the kind with adhesive backing and not the kind that needs to be sewn on.
This is a photo of the inside of my gift card holder. As you can see I also added a piece of designer series paper on the inside.

And this is a photo of my gift card holder with a gift card inside. These holders are just the right size for gift cards plus I like that I kept them closed using Velcro so that I won't have to worry about the gift card falling out.

Thanks so much for stopping by. Remember to enter to win the Simply Score Tool that I am giving away-----> click here for more information. I used my Simply Score Tool when making my gift card holder and it made scoring my project so easy.
Stamps: Curly Cute
Card Stock: Real Red, Holly Berry Bouquet DSP
Ink: White Craft Ink,
Supplies: White Embossing Powder, Embossing Buddy, Heat Gun, Stamp-a-ma-jig, Ribbon, Simply Score Tool, Velcro
Technique: Heat Embossing
Contact me today if you would like to place an order or to be added onto my mailing list!
My Stampin' Up! Website- http://www.stampinup.net/esuite/home/lalatty/
To place your Stampin' Up! order- http://www.stampinup.com/ECWeb/default.aspx
My email address- pebbles4@ptd.net

6 comments:
Cute idea. Thanks for sharing.
Very cool idea. It is simple and looks great. I'm always looking for ideas for gift cards. I really like this one. Thanks!!
Very Cute Patty--I am going to make some of these for our monthly stamp club next month as the swap theme is Anything But a Card.
Thanks Loads!
What a cute gift card holder! I like the velcro idea to secure it! TFS
I really like your project today, it's creative, well done, and Love the Papers!
Peace,
Kristy
very pretty! I love the scallop edges :)
Post a Comment